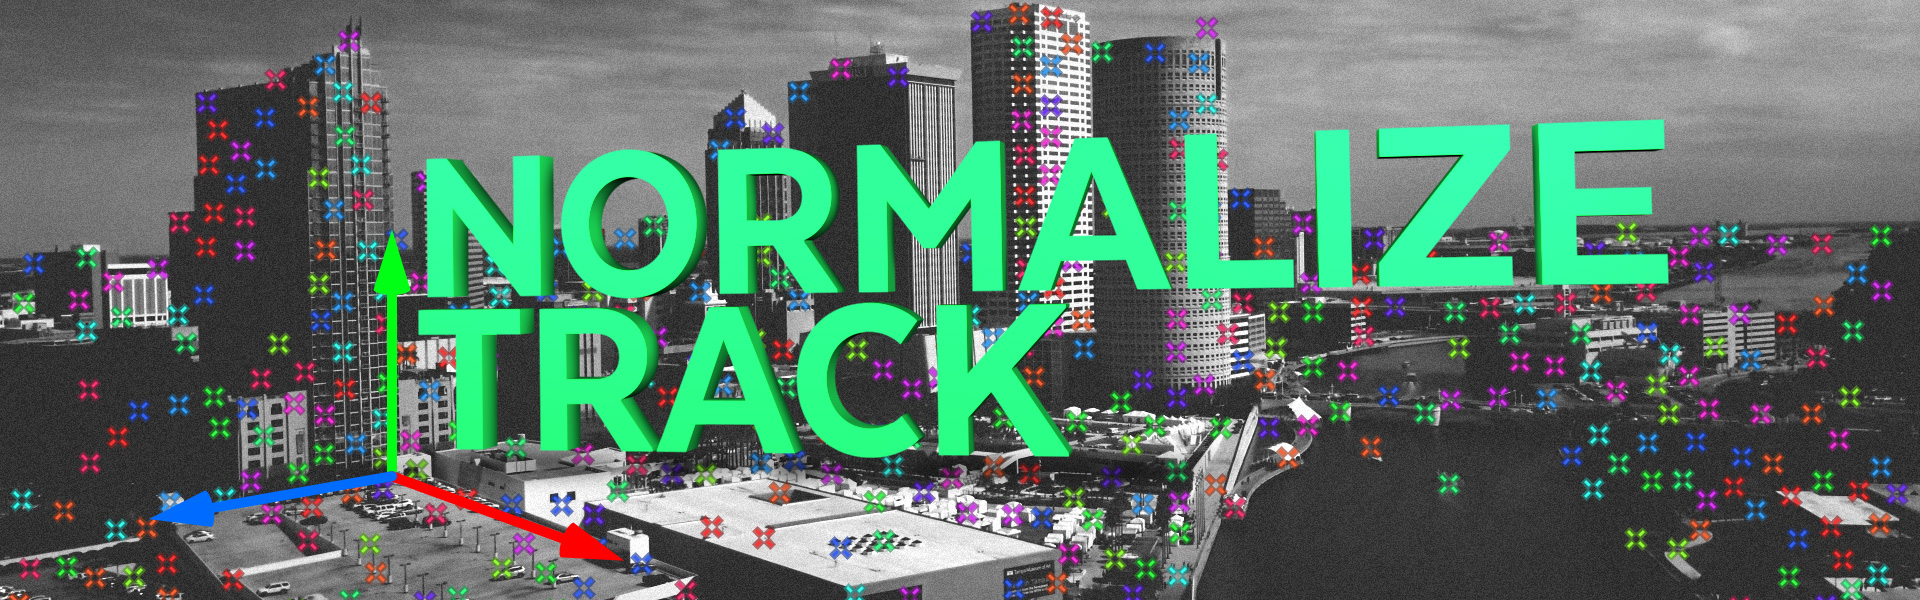
You ever track a camera in After Effects and find that the scene scale is stupidly large or ridiculously small? Well, thanks to Daniel Hashimoto—you might know him as Action Movie Dad—we have a technique to normalize tracks so that you can drop in elements, pop on that 3D switch and not have your elements push out to infinity or beyond. And thanks to Aharon Rabinowitz for connecting us, we now have a script that does it automatically.
I'm really happy that I was able to help out on this because there's nothing I like more than building something that can save other artists time. And being able to do that with two amazing and down-to-earth people like Hashi and Aharon who just love this craft and freely share their knowledge was a superlative experience. But nothing compares to the video. Sev and I almost died laughing when we saw the preview!
Watch that above and then grab the free script over at Element Supply Co.
Become a Patron
If you'd like to help support Workbench, check out our Patreon page. For $5 a month, you get access to all of the tutorial project files we've made available as well as other monthly projects, rigs, R&D, elements, early product previews, and BTS content not available anywhere else!
Scale comps is a script based on the Scale Composition.jsx script that ships with After Effects. The original script is great but it only works on the current comp, so I rebuilt it so that it can be used on multiple comps.
The original script uses nulls to scale items in the comps. It removes those nulls, but it only removes them from the comp, not the solids folder. My version removes the nulls completely and if you didn't have any solids in your project, it removes the solids folder it makes too.
This version is also wrapped in an anonymous function so it won't conflict with any other scripts in After Effects. And Scale Comps works great with KBar too!
Where do I get it?
You can get it right here. It's available for whatever price you want to pay. As I'm modifying an existing script, any profits only support the additional functionality I've built in. Also, this script is not locked in any fashion, so feel free to check it out and see how it's built. I hope it helps you out. It's already saved me a ton of time on a project.
Become a Patron
If you'd like to help support Workbench, check out our Patreon page. For $5 a month, you get access to all of the tutorial project files we've made available as well as other monthly projects, rigs, R&D, elements, early product previews, and BTS content not available anywhere else!
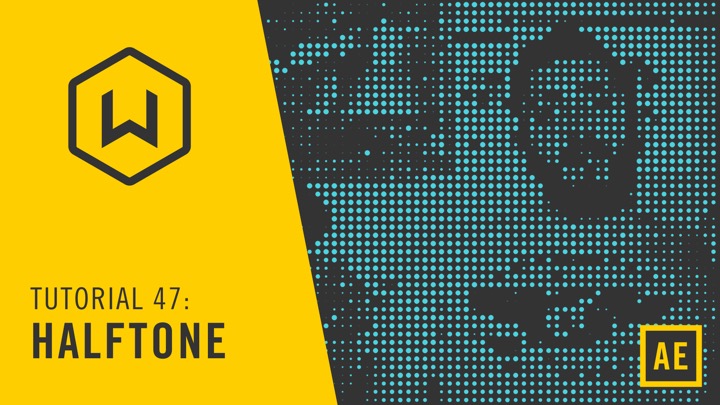
I developed Sundial in 2014. One of my goals was to make a plugin. I originally tried to remake Pete's Plugins from his source, especially for his legendary halftone effect, but I could never figure out how it all went together. So I went about building my own from scratch.
I had this great idea. Everyone was trying to make long shadows and had developed all of these different hacks. For quick things, I had always cheated by stacking a few drop shadows. But I figured that I could probably turn that process into a way more efficient plugin. How hard can copying a layer over and over a ton of times be? It was difficult. The docs were ancient and my C++ experience is still low. But eventually I got it working. I even optimized it so that it didn't draw a ton of layers, but grouped them and repeated those groups to get to the desired length.
The only setback I faced, and could never recover from, was that it wouldn't work well with raster images. Every once in a while you'd need to purge. And moving the controls around usually seemed to have the effect of stacking the copies, especially if opacity was used.
So I stopped development completely when an alternative hit the market. I found out recently that others had been working on a similar path and had similar setbacks. I think the code they worked on ended up in a viable version somewhere.
So that's where it stands. As I use Macs, it's macOS only. Had I been able to get the kinks worked out, I probably would have ported it to Windows, but that didn't happen. If those two drawbacks aren't a concern feel free to name a price and download it. But please remember, there is no active development on this one, and it's offered as-is with no support available.
Become a Patron
If you'd like to help support Workbench, check out our Patreon page. For $5 a month, you get access to all of the tutorial project files we've made available as well as other monthly projects, rigs, R&D, elements, early product previews, and BTS content not available anywhere else!
Hi guys! I've finally gotten around to making my own library for Flow. If you don't have Flow, you're going to want to go buy it. It's definitely one of those scripts that improves the quality of your work and helps you work faster.
Good easing will give your work a lot of life. And since animators can make these libraries available for download, you can start with a solid foundation without even having to adjust your own curves! So in that spirit, I'm sure you guys can put our library to good use!
Become a Patron
If you'd like to help support Workbench, check out our Patreon page. For $5 a month, you get access to all of the tutorial project files we've made available as well as other monthly projects, rigs, R&D, elements, early product previews, and BTS content not available anywhere else!
Hey everyone! I've developed an improved workflow for storyboarding. I used to just draw them on a page I made and scan them in. I didn't do much editing of them in Photoshop unless something was really a pain and needed to be duplicated a billion times.
Initially, I set up this InDesign document that took those scans and put them in a slightly cleaner template. But that was still tedious. A few months back I bought an iPad Pro and Apple Pencil and I started to use Procreate. I used it to board a project and it was awesome! It's easy to collaborate with someone without having to be near a computer, and I didn't have to redraw things over and over. It made making slightly different frames super easy so making more frames to fit a lengthy script wasn't a big deal. And because of that, I can get a better feel for pacing. Since I can export to PSD from Procreate, I can then export those layers to PNGs. I use a 4K 16:9 preset (3840x2160) in Procreate so I can enlarge if need be.
So then I needed to step up my InDesign game. I made all the text boxes threaded so I can put my script in and it flows the necessary pages. It takes minutes to make my final document now—especially since I now do them completely digitally.
Anyway, you can grab that InDesign document right here. The zip also contains my older templates that I printed to draw on. If you're unfamiliar with InDesign or how I made this document, continue reading to figure out how to use it.
Initial Setup
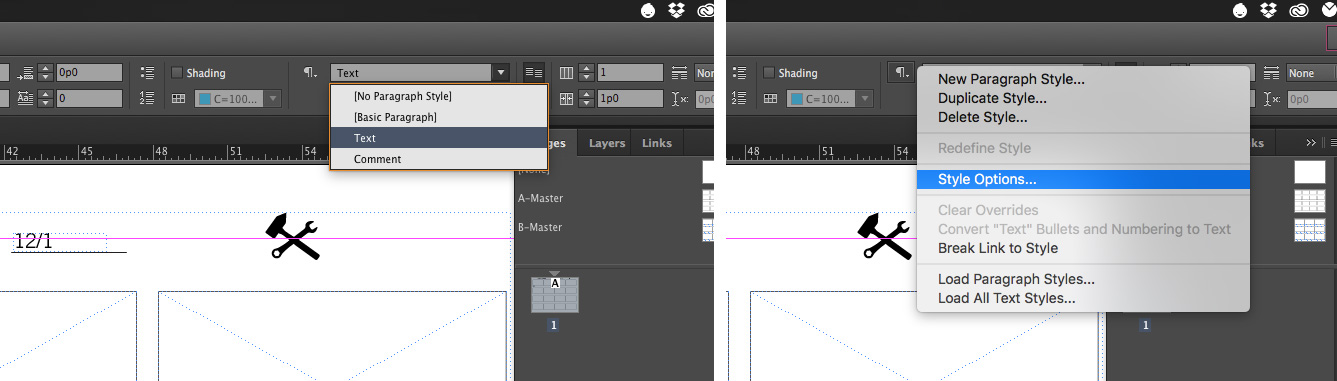
Select Text in the text styles dropdown.
Modify its style options.
Select a font you want to use.
Do the same thing for the Comment text style.
Save.
Using the Template
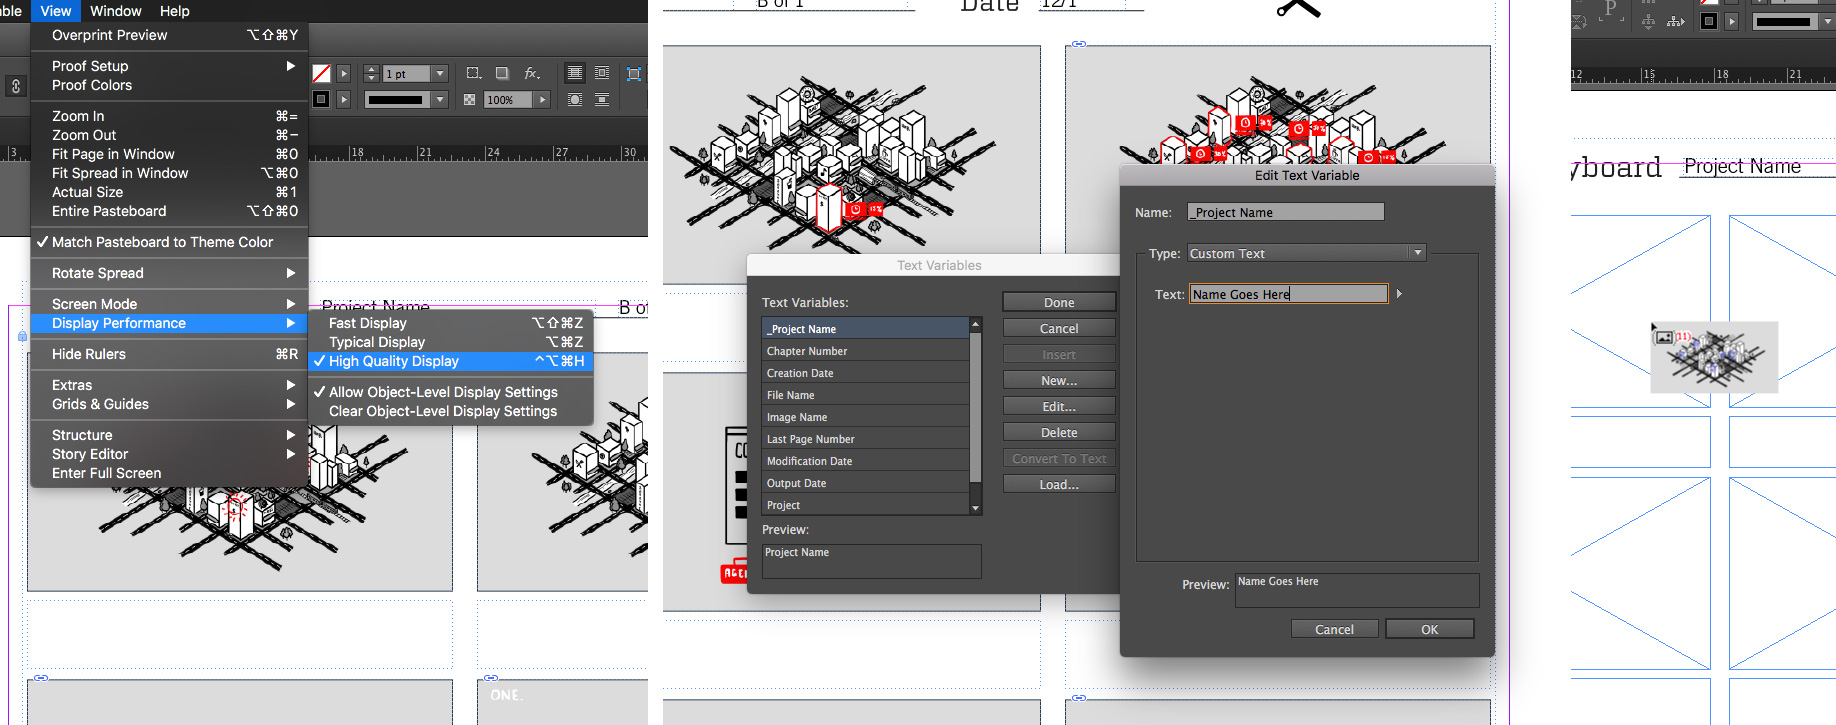
First, I like to set my display mode to high performance because nothing I do in Indesign is tough to display.
Open up Type > Text Variables > Define.
Set the _Project Name variable to, uh, the name of your project.
If you want to use the 16 grid setup it's ready to go (it's 2 lines of text per box).
If you want the 9 grid, make a new page and delete the original page.
If you made a new page, hold shift+cmd and click drag through each line of text frames to make them editable.
Paste your script into the first text frame. New pages will flow as needed.
Edit your script. You can add descriptions using the "comment" text style.
Shift+cmd drag over every frame that you want to put an image in (it is fine to cross over the text boxes, or even select frames you don't want to fill.
Now you can hit cmd+d with nothing selected or go to File > Place.
Navigate to your folder of storyboard frames. Select the first frame, and shift+click on the last one. This will load up your cursor with all of the boards.
Now just click in each frame to drop each image where they need to go.
Once you've placed the frames, if you need to duplicate any, hit B. A box will pop up.
Click on the frame you want to duplicate. Then hit B again and your cursor will look like the place cursor again.
Click in the frame you need to place the duplicate.
If any of the frames fit strangely, click to select the content of the frame, and the right click and select Fitting > Fill Frame Proportionally.
Click on frames to select them to resize as needed.
Hit cmd+E to export. I usually just use 'High Quality Print.'
It sounds way more complicated than it is. If you haven't used InDesign before, it can seem odd. But once you've done it a few times, you will be glad you downloaded this file.
I'm not an InDesign master, but if you have any questions, use the contact form to shoot me an email and I'll point you in the right direction.
Become a Patron
If you'd like to help support Workbench, check out our Patreon page. For $5 a month, you get access to all of the tutorial project files we've made available as well as other monthly projects, rigs, R&D, elements, early product previews, and BTS content not available anywhere else!
Happy Thursday! I saw that the excellent Zack Lovatt had posted some icons for those of us who keep multiple versions of After Effects around for one reason or another. Having multiple versions can be a pain when you're in your file system or looking at icons on your dock. Zack created a set for Windows users but he didn't have a way to make them for Mac, so since I use a Mac I built the larger icons, and asked him for permission to upload his small versions in the Mac set. You can get them here.
To change your AE icon:
Find the After Effects app whose icon you want to change
Find the corresponding AE .icns file for that version
Hit Command + i or right click and select 'Get Info'
Drag the .icns file to the icon preview in the top left
You might have to click the icon in your dock, or possibly remove it and replace it to get it to refresh.
If you want to restore the original icon:
Go to the After Effects app whose icon you want to restore
Hit Command + i or right click and select 'Get Info'
In the window that opens, select the icon in the top left and hit Command + x or Edit > Cut to restore the icon
The download includes all of the files required to make the icons, including Zack's original files. There's also an AE project that the rest of the icons were built in if you'd like to make your own. I used Icon Composer 2x by Lemon Mojo to assemble the .icns files. It's awesome, super-easy, and free.
Become a Patron
If you'd like to help support Workbench, check out our Patreon page. For $5 a month, you get access to all of the tutorial project files we've made available as well as other monthly projects, rigs, R&D, elements, early product previews, and BTS content not available anywhere else!
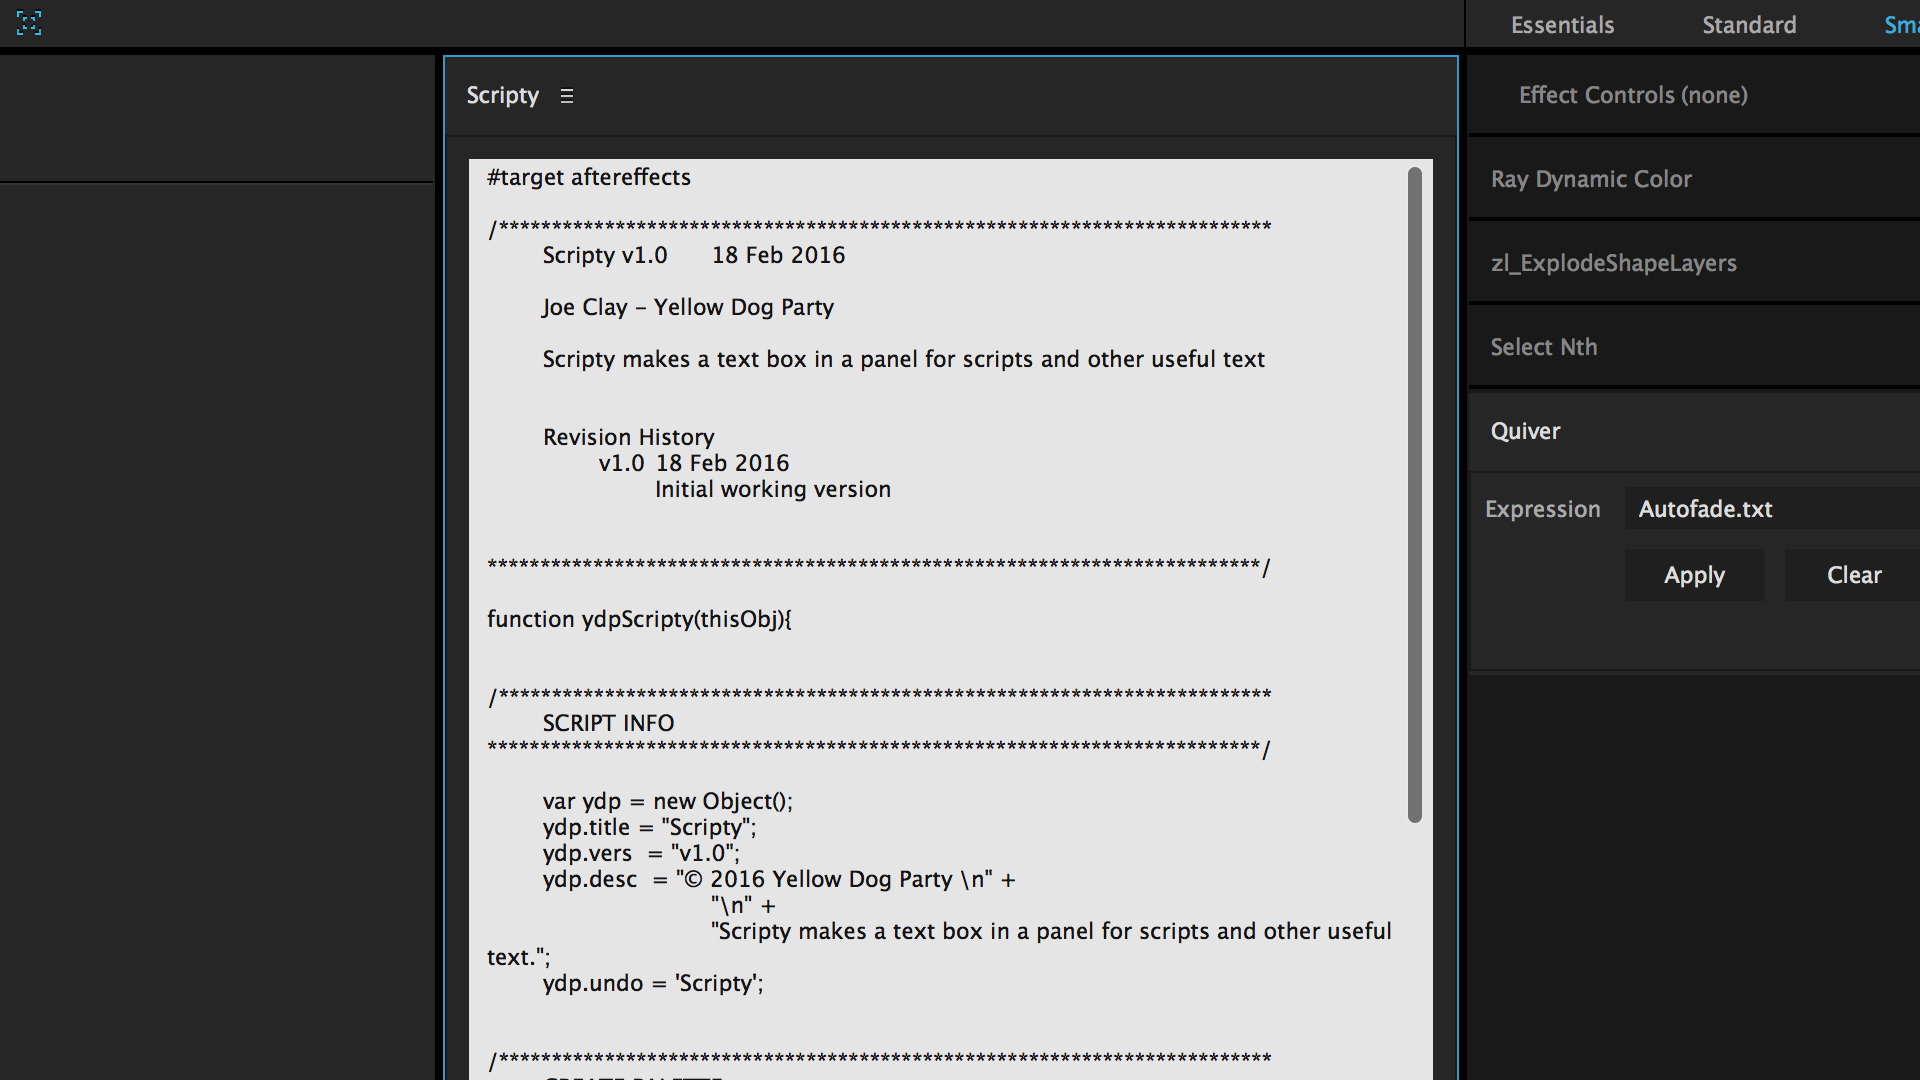
Happy Friday! Here's a free script that my studiomate, Sev has asked me about. It lets you put text into a floating/dockable panel, so you can keep important text (like your script) right next to your compositions!
I got to learn how to better lay out script UIs and you get a free script! Perhaps in the future there will be a paid version that will swap selected text into a layer or something. But for now, this is it. For some reason AE text boxes support rich text too, so if you paste in text that's bold or italic that'll be shown also.
The only caveat is that you download it through gumroad so I can get an idea of how it's doing. It's free and pay what you want, so you can download it without having to put in any contact info! You will have to enter 0 for the amount though! Anyway, I hope you find it useful!
If you'd like to help support Workbench, check out our Patreon page. For $5 a month, you get access to all of the tutorial project files we've made available as well as other monthly projects, rigs, R&D, elements, early product previews, and BTS content not available anywhere else!
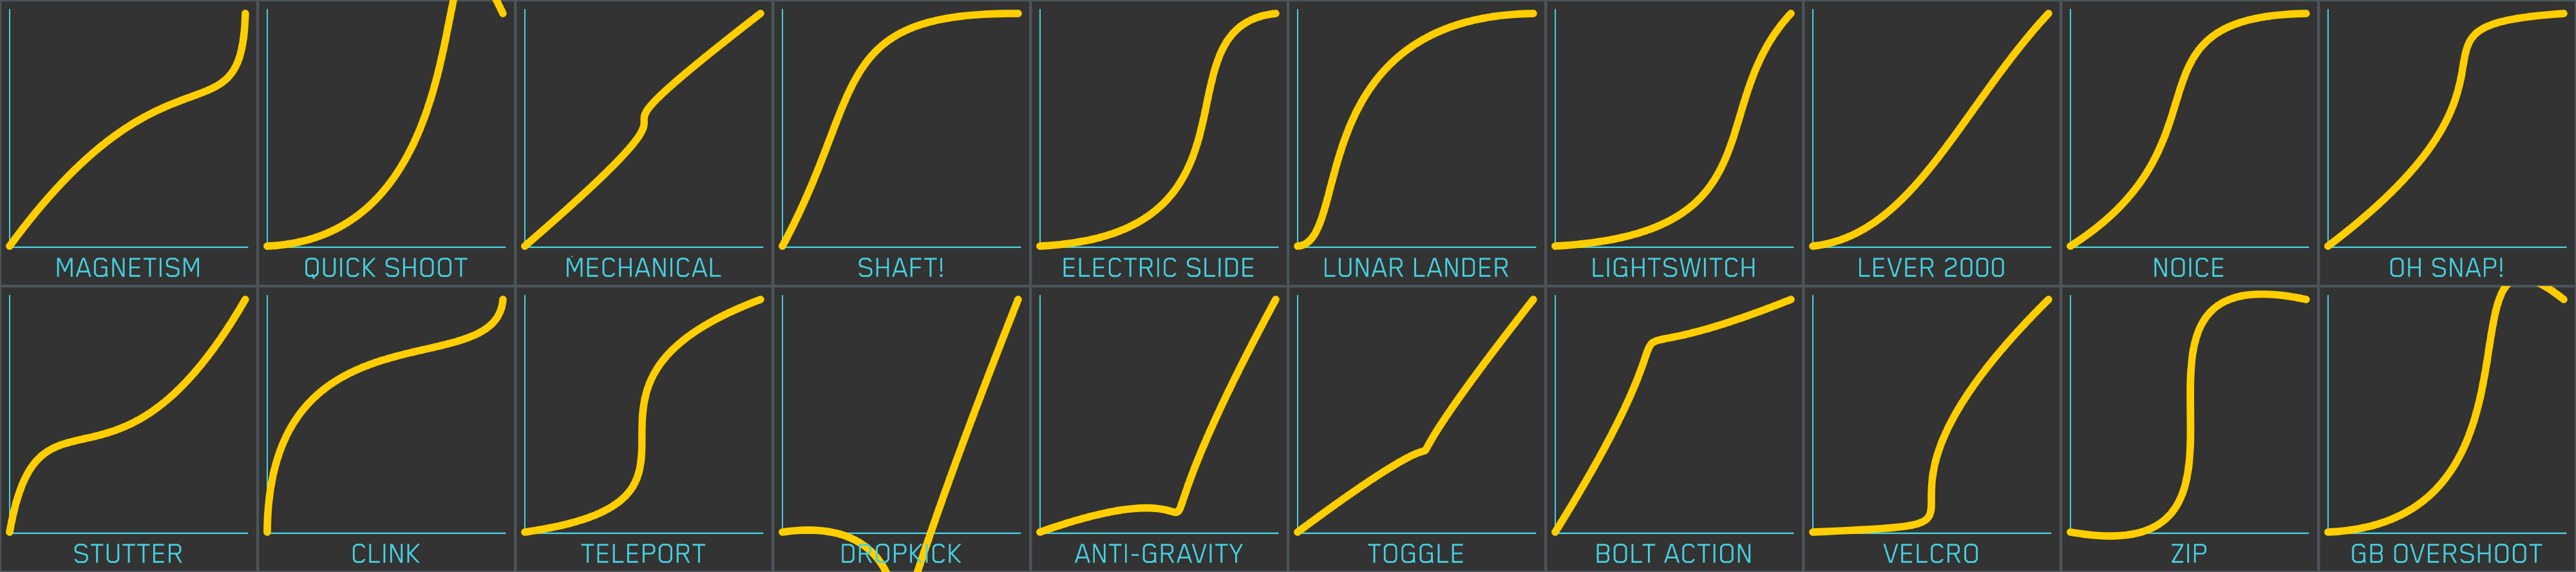
//Inertial bounce
amp = .1;
freq = 2.0;
decay = 2.0;
n = 0;
if (numKeys > 0){
n = nearestKey(time).index;
if (key(n).time > time){
n--;
}}
if (n == 0){ t = 0;
}else{
t = time - key(n).time;
}
if (n > 0){
v = velocityAtTime(key(n).time - thisComp.frameDuration/10);
value + v*amp*Math.sin(freq*t*2*Math.PI)/Math.exp(decay*t);
}else{value}
//Apply to Time Remap
pos = transform.position;
delay = -1; //in seconds
x = Math.pow(pos[0]-960,2);
y = Math.pow(pos[1]-540,2);
d = Math.sqrt(x+y);
value + linear(d,0,1102,0,delay);
// Spin (rotate at a constant speed without keyframes)
veloc = 360; //rotational velocity (degrees per second)
r = rotation + (time - inPoint) *veloc;
[r];
//Moves things in a spiral (apply to position)
center=[thisComp.width/2,thisComp.height/2];
rMax = 240; //maximum radius
decay = 0.3; //decay
freq = 6; //frequency
aStart = 0; //start angle offset
aRate = 220; //rotation rate
offsetFactor = 1000; //smoothness
r = rMax/Math.exp(time*decay);
a = degreesToRadians(aStart + aRate*time);
offset = (r/offsetFactor)*Math.sin(freq*time*Math.PI*2);center + [Math.cos(a),Math.sin(a)]*(r + offset);
// Throw (move at a constant speed without keyframes)
veloc = -10; //horizontal velocity (pixels per second)
x = position[0] + (time - inPoint) *veloc;
y = position[1];
[x,y];
I hope these scripts can help you out in your work! Keep an eye on this section for more useful tools!
Become a Patron
If you'd like to help support Workbench, check out our Patreon page. For $5 a month, you get access to all of the tutorial project files we've made available as well as other monthly projects, rigs, R&D, elements, early product previews, and BTS content not available anywhere else!